

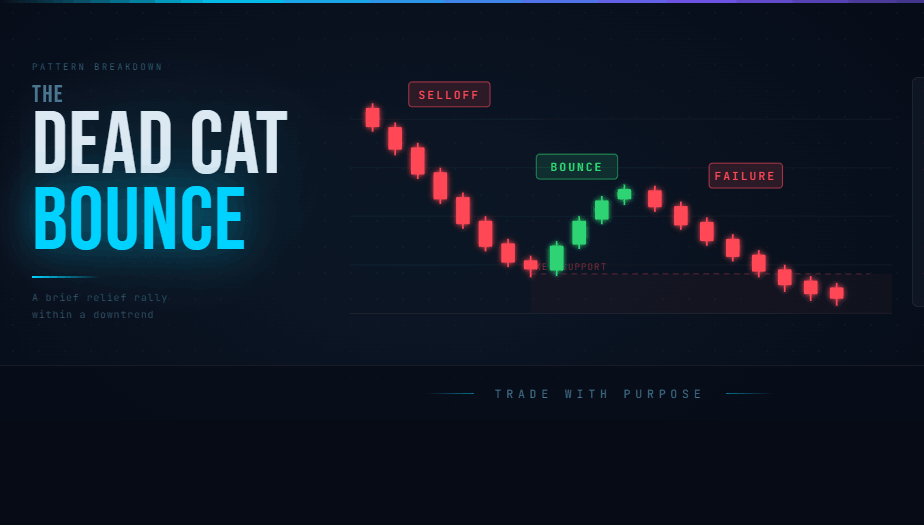
Featured · Pattern Breakdown
The dead cat bounce: the market's most expensive trap
How to tell a relief rally from a real reversal, and why we wait for confirmation before selling a spread under the bounce.
Read the breakdown →
Coinfish education is built around credit spreads and iron condors on liquid markets. Three tools, one loop, defined risk every time. Here is exactly how the pieces fit together.
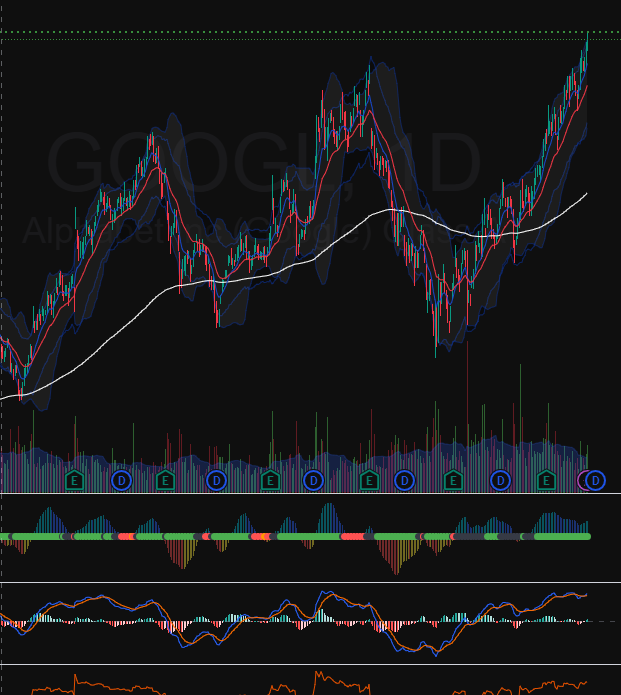
Before any trade, we read the chart. Price action shows the trend, patterns show the pressure points, and momentum shows whether the move has fuel. This is how we decide when conditions favor putting on a position, and just as important, when to wait.
You will learn to read support and resistance, trend structure, and momentum so your entries are planned, not impulsive.
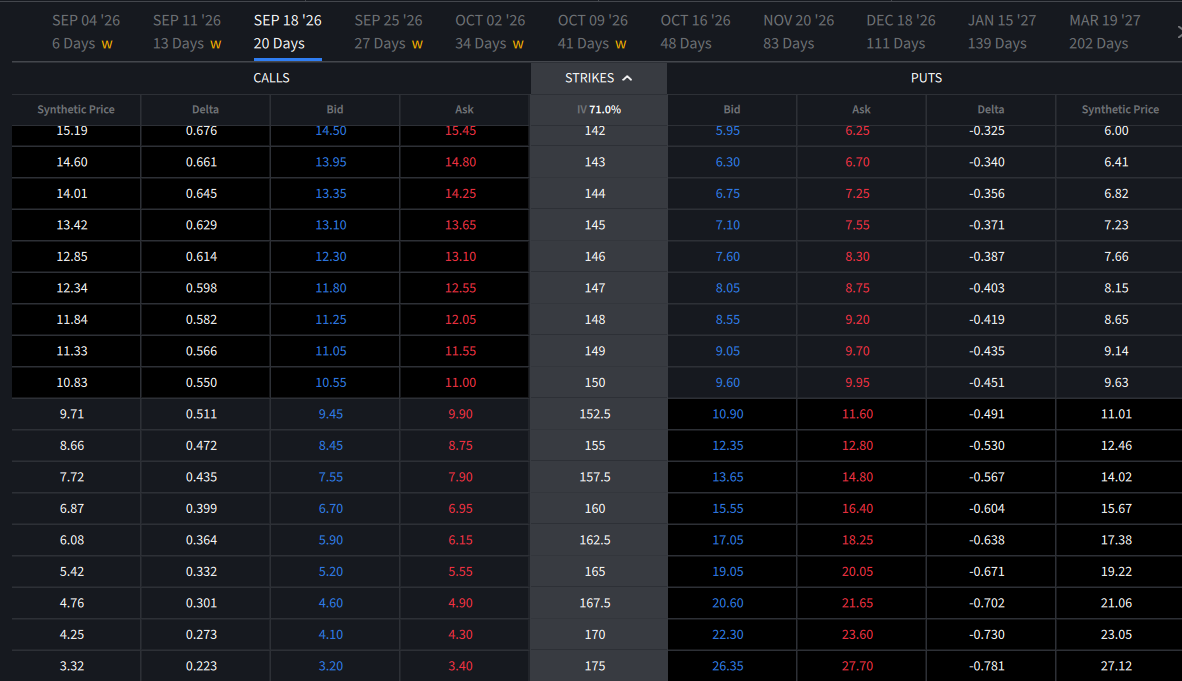
Once timing lines up, the trade gets built on the options chain. We choose strikes, expirations, and premium that fit the setup, then define the maximum loss before entering. Credit spreads and iron condors let us get paid up front and win across a wide range of outcomes.
You will learn to read probabilities, set up credit spreads and iron condors, and know your risk to the dollar before you click buy.
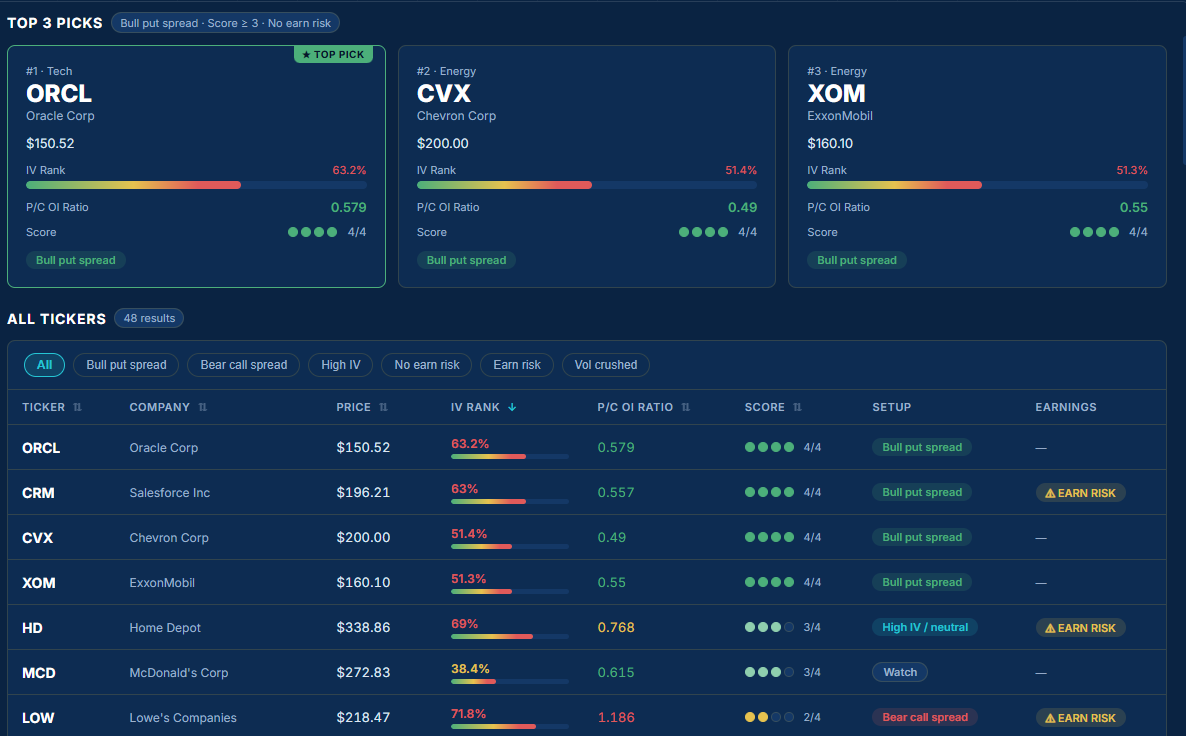
You cannot watch every ticker. Scanners do the watching for you, filtering thousands of names down to the few that meet our criteria for volatility, liquidity, and a clean technical trigger. That is how a part-time trader competes without staring at screens all day.
You will learn to build and run the same screens we use, so the market hands you a short list instead of an overwhelming feed.
A clear progression, whether you are brand new or tightening up an account that has been bleeding.
Calls, puts, premium, expiration, and why defined-risk spreads beat naked directional bets for most people.
Reading the chain, choosing strikes and expirations, and placing credit spreads and iron condors step by step.
Position sizing, when to take profit, when to roll, and when to close a loser before it grows.
The process in the open. Trade recaps, strategy breakdowns, and platform walkthroughs, wins and losses included.
How to tell a relief rally from a real reversal, and why we wait for confirmation before selling a spread under the bounce.
Read the breakdown →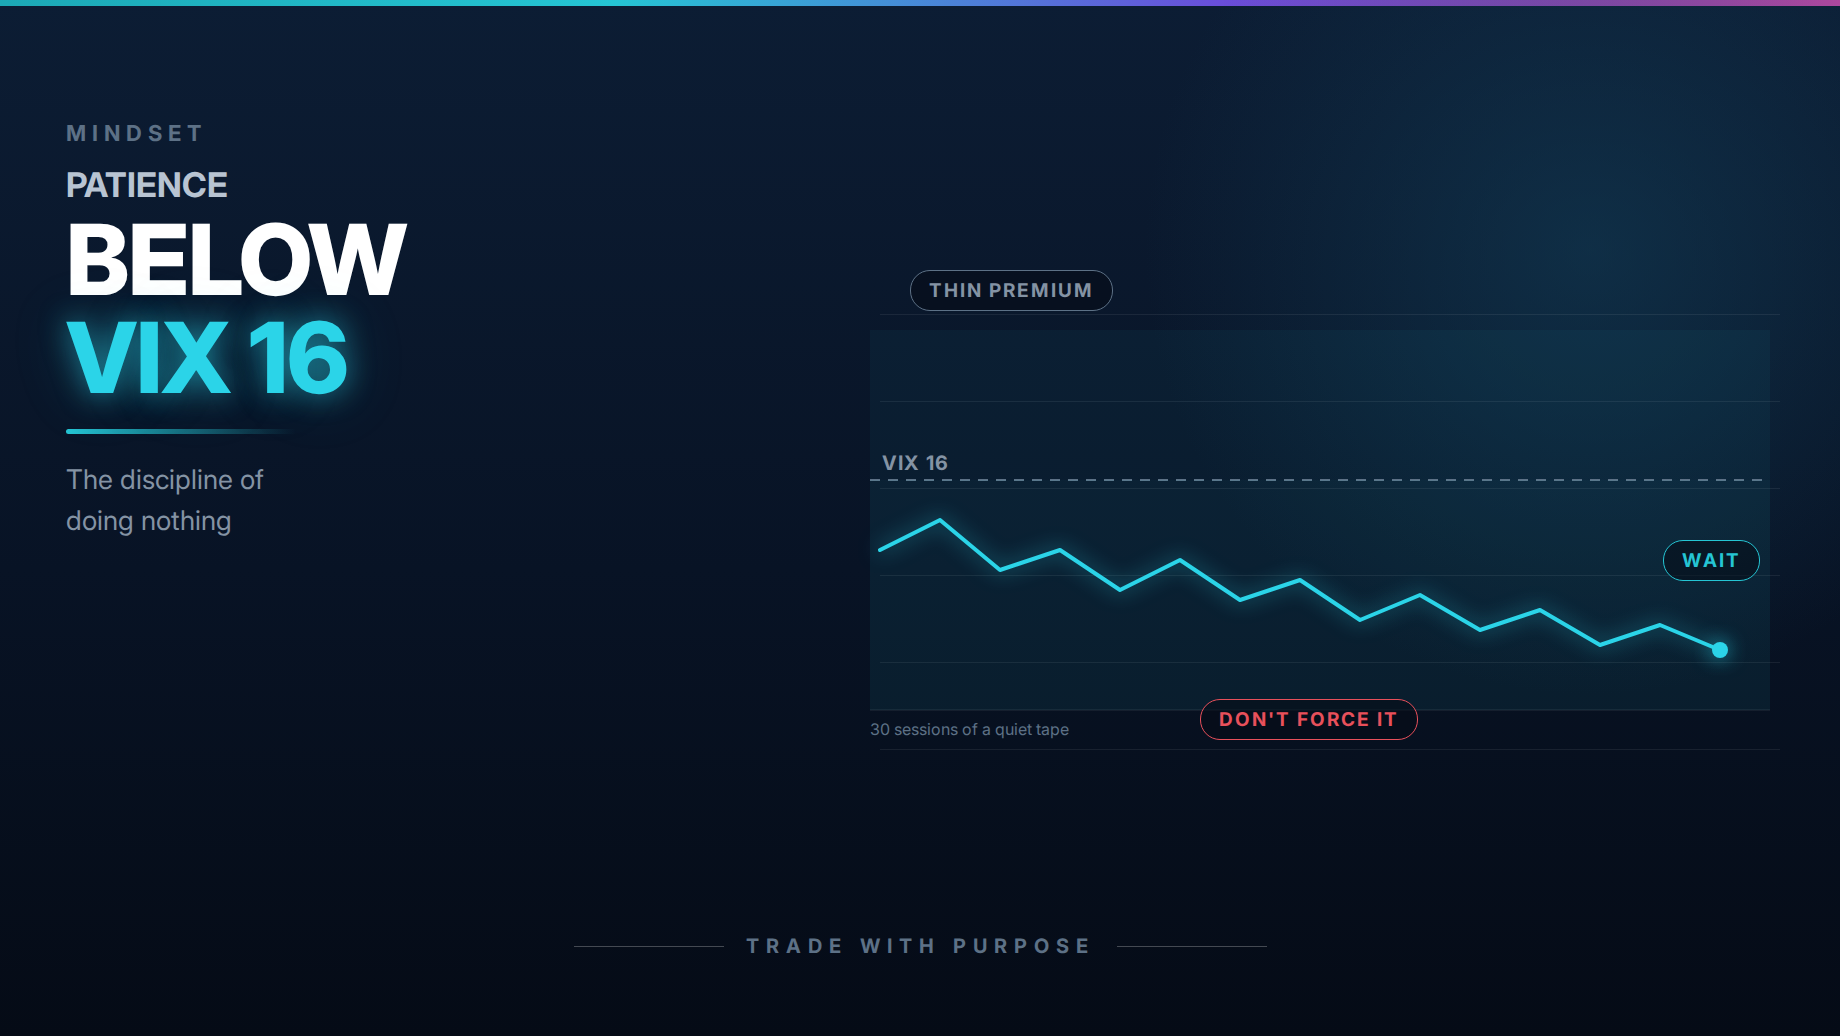
Why a quiet VIX thins the premium on bull put spreads, the long calls I forced on squeeze plays instead of waiting, and what trusting the strategy actually costs.
Read more →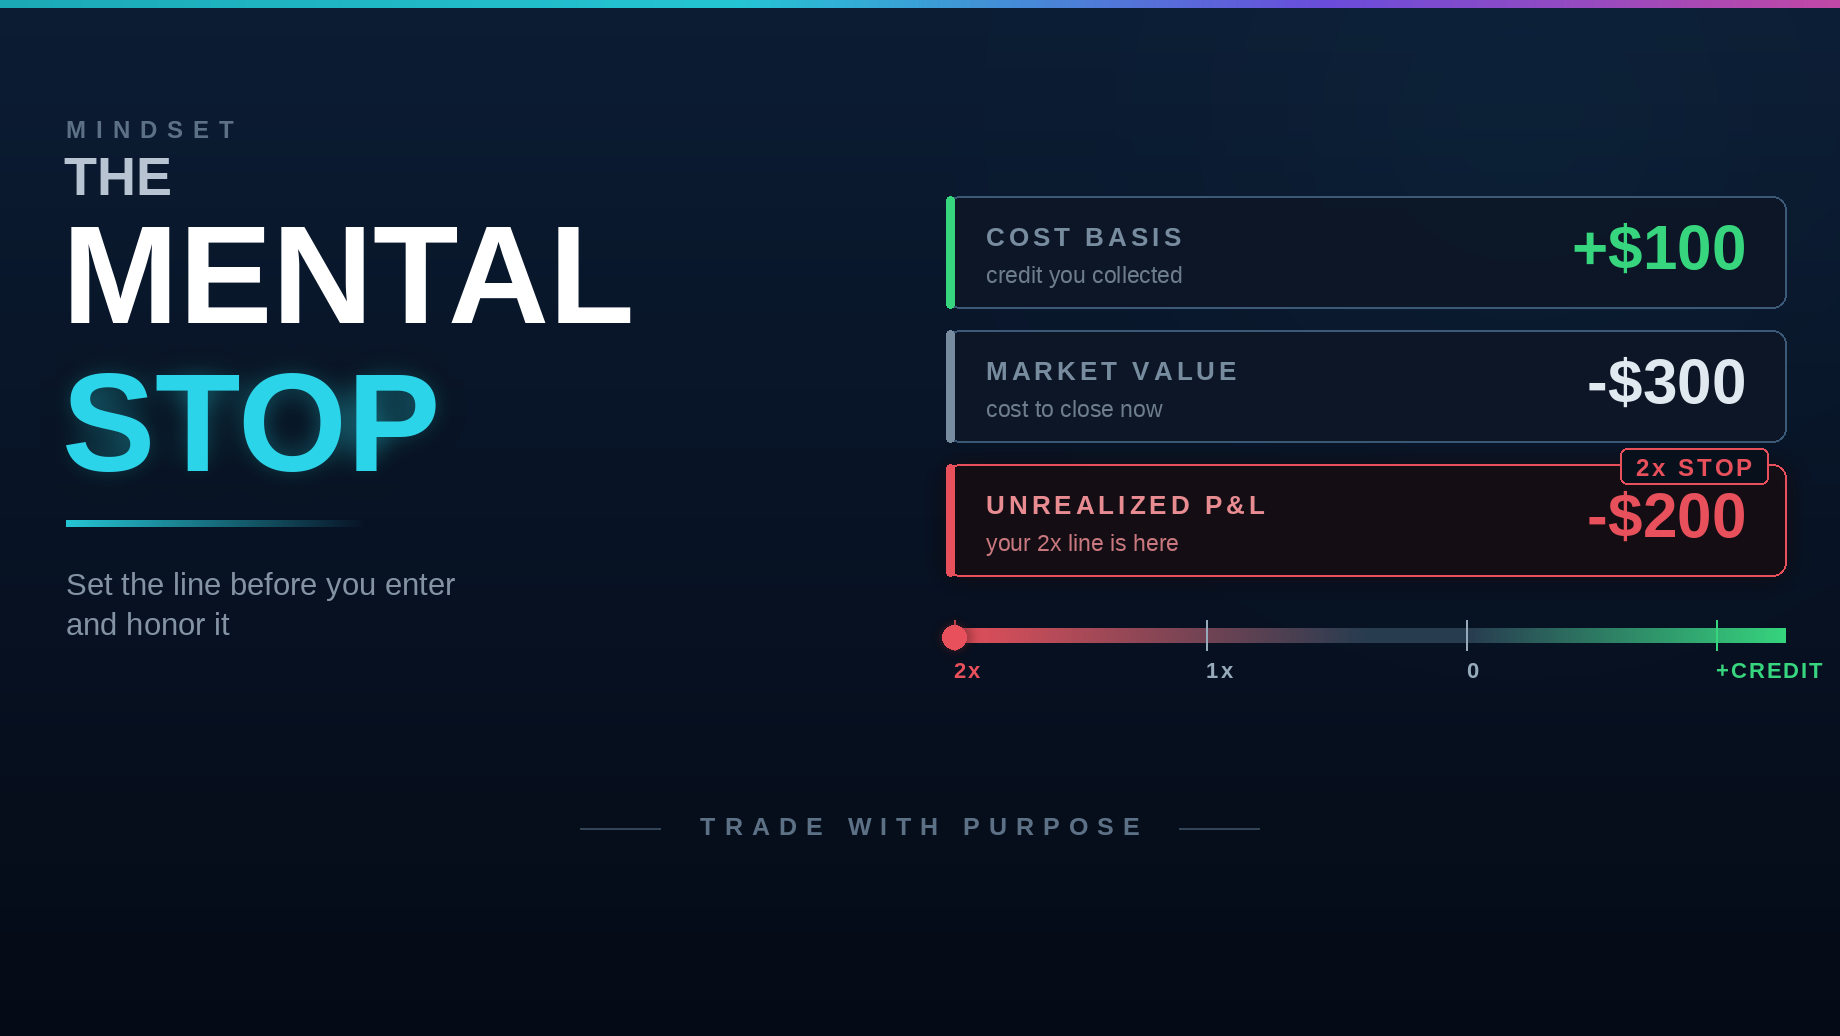
Risk and reward, the 1x and 2x loss rules, reading market value against unrealized P&L, and the discipline to follow the line.
Read more →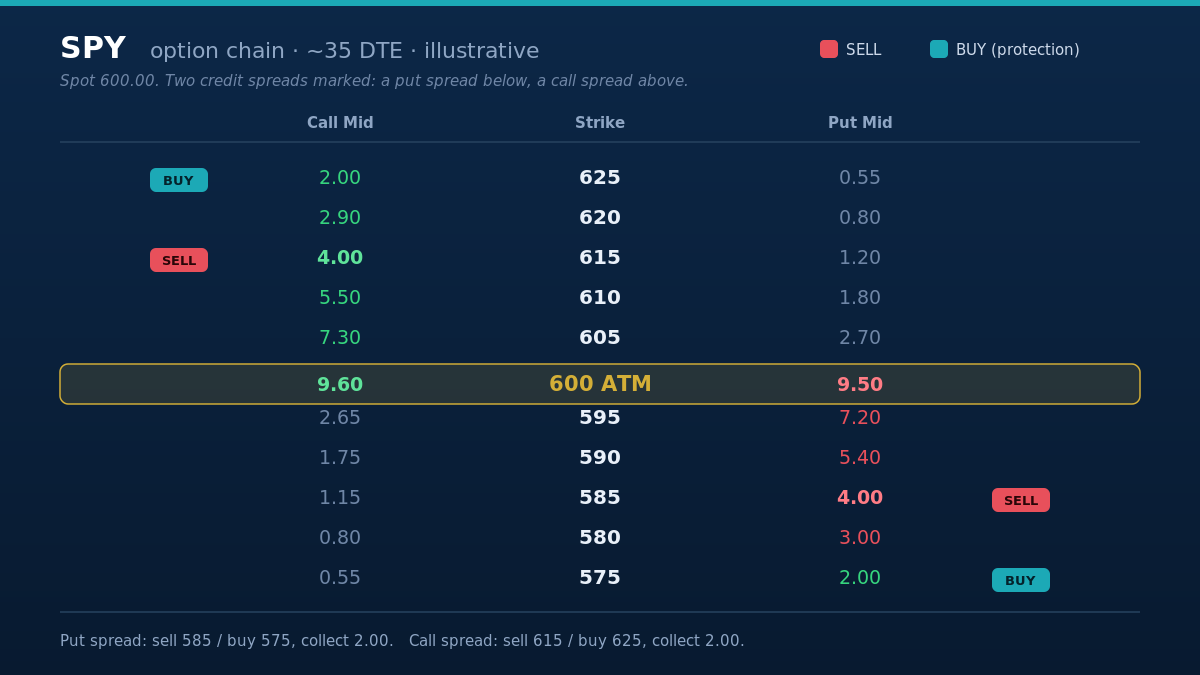
What a credit spread really is in plain language, the two versions, and the four numbers that decide every trade.
Read more →Get the free Options Playbook, the same framework we trade, and put your first defined-risk setup on with confidence.